Playgrounds officially re-opened this week, but ours was a little crowded and crazy for our liking, so we're still spending a lot more time in our yard. After installing monkey…
DIY rock climbing wall: Stay-at-home summer, part 2
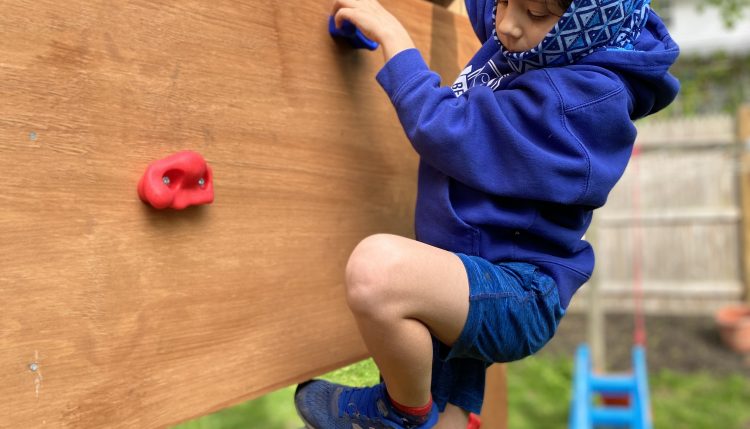
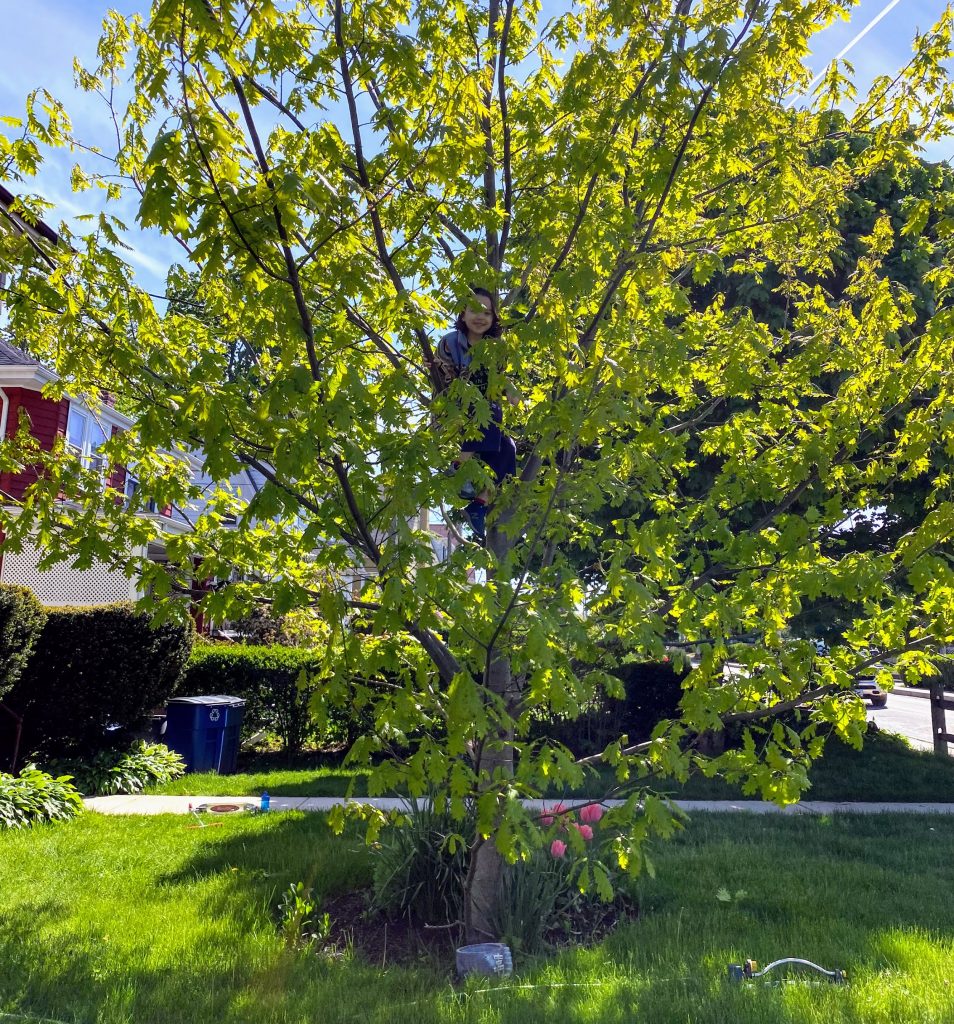
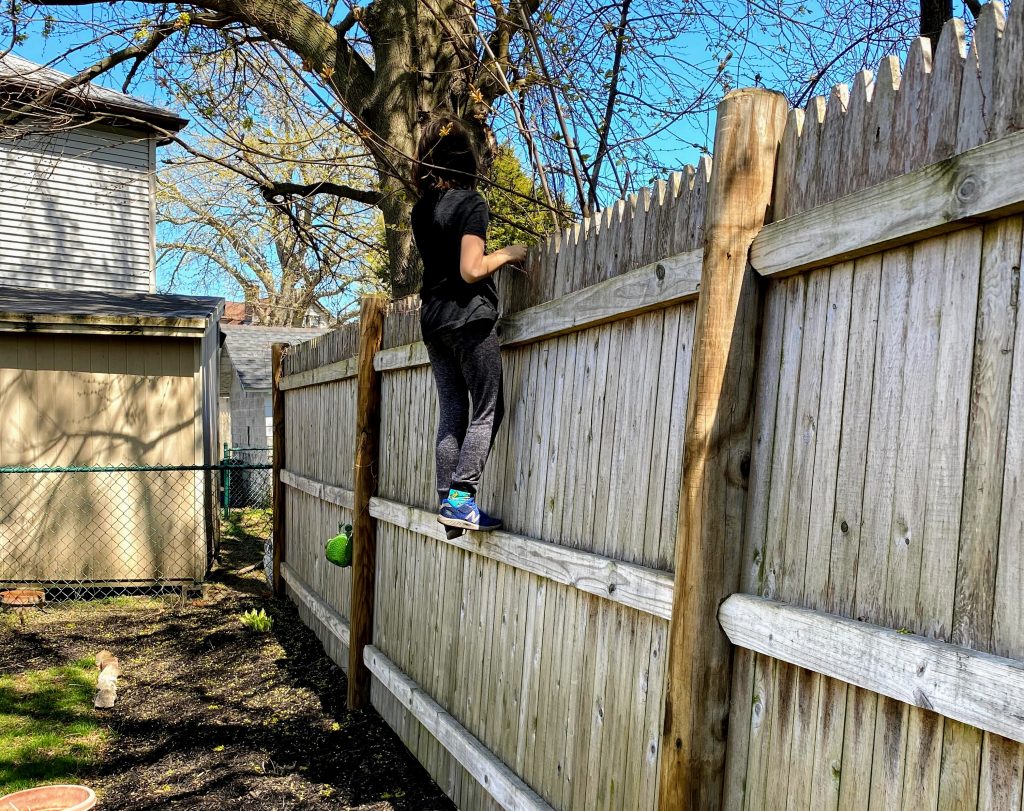
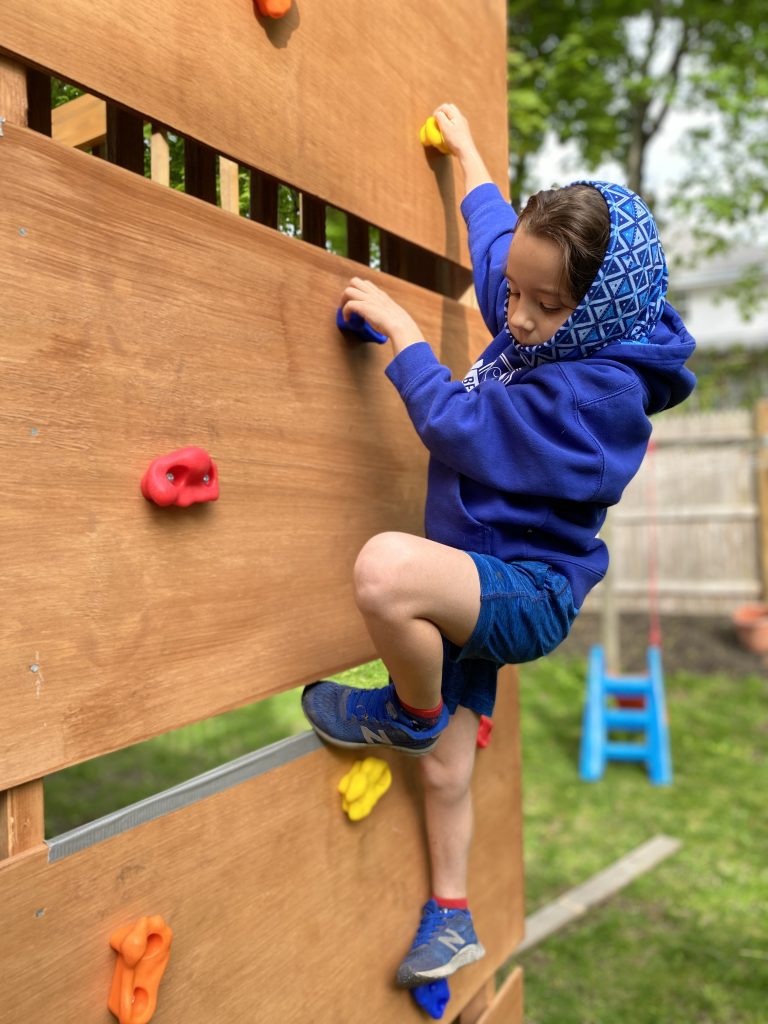
Our daughter’s always been a climber. She scales fences, trees, door frames —anything— and she loves going to the climbing gym. Since that probably won’t be happening during the stay-at-home summer of 2020, I decided it was finally time to build a DIY rock climbing wall for her in the backyard.
As with our backyard monkey bars, I figured we could use our very sturdy deck as the support structure. (I should note that this is a DIY rock climbing wall for children, not designed to support adults. Grown-ups, keep out!)
Ordinarily, you’d want to start with a 4′ x 8′ sheet of thick (5/8″ or thicker) sanded plywood. But in the midst of a pandemic, I wasn’t exactly eager to go pick one up at Home Depot, and the delivery charge was going to be $79.
The delivery fee on two 4′ x 4′ sheets was a little less, at $35. But four 4′ x 2′ panels, which can easily fit in a regular car, cost only 7 bucks for same day delivery. Bingo!

That created a little extra work: To make a one-piece wall, I had to secure all four panels to a pair of 8-foot studs, one on each side. It’s simple enough to just screw or nail in each panel, but if you have a pickup truck or 79 bucks, a giant sheet of plywood could simply be attached to the deck on its own and eliminate this step.
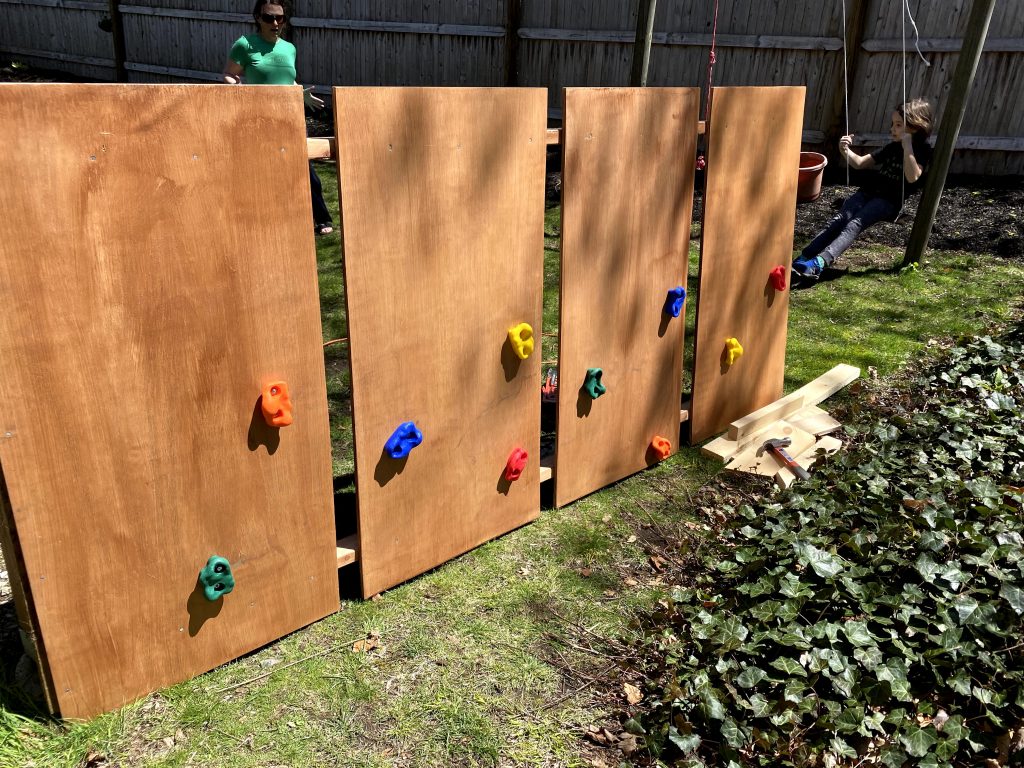
I left a couple of inches between each panel to get a little more overall height out of it (and to allow some air and sunlight to pass through as well). I also gave all the wood a coat of the Thompson’s WaterSeal that we use on the porch, since it’ll be exposed to the elements all summer — a simple coat of exterior paint would work here, too.
For the climbing holds, I picked up a bag of 20 hand holds off Amazon. They’re super easy to install: Position a grip in the spot you want it, mark the location of the two holes, and then drill through each with a 1/4″ drill bit. I found it was helpful to wiggle the drill slightly at the end, to widen the hole a tiny bit.
The plastic grips are secured with nuts, bolts, and washers. On the back side of the board, push the nuts into the holes and then tap them gently with a hammer until their sharp, metal teeth grip into the wood.
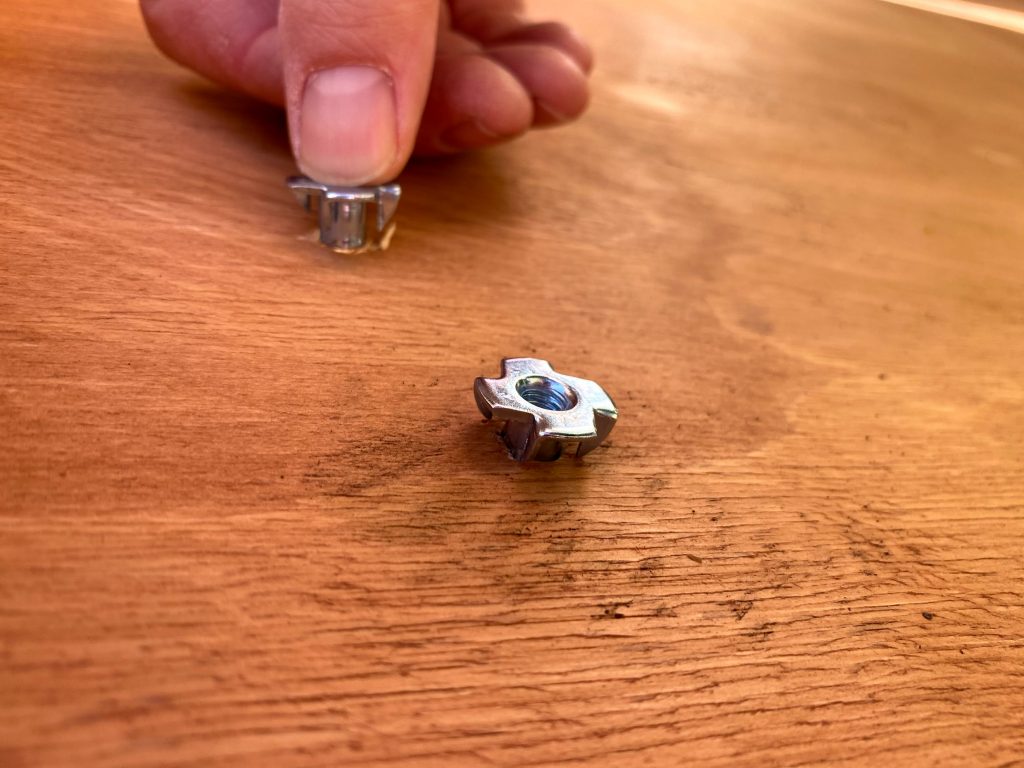
Then, on the front side, get the climbing hold into position, thread a bolt and washer through each hole, and use the Allen wrench provided to screw them in tight.
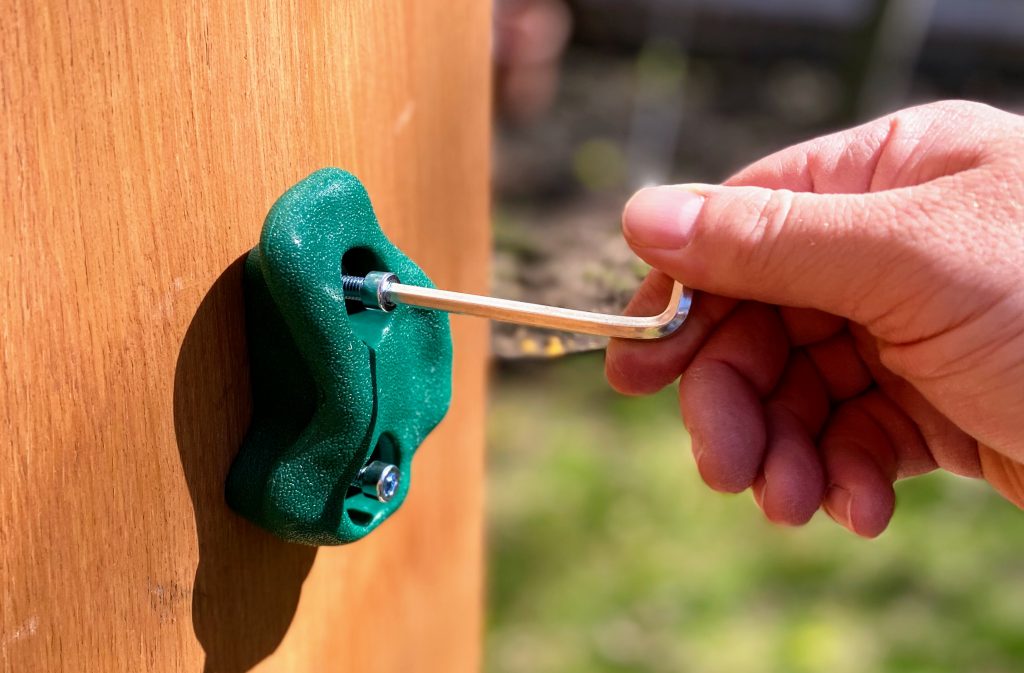
I staggered the holds every 18 to 24 inches or so; for little kids, you’d want to place more of them closer together to make it easier. I also placed some of the holds vertically or crooked for an added challenge. And to start, I just did one side of the wall. Then I asked my “client” to try scaling it.
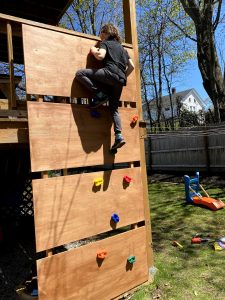
If she found it really easy, I figured, I’d make the left side more challenging, and if it was too hard, I could make the other side easier.
Of course, she zipped to the top like a monkey on the first try. So on the left side, I used half as many climbing holds, spacing them farther apart. In the end, we had an “easy” side and a “challenge” side.
Securing the wall to the deck was its own challenge. A sheet of plywood weighs like 80 pounds— not something you want toppling over on your kid (or anyone else)! Yet I wanted something we could take down for the winter and tuck under the deck.
The studs behind the plywood came in handy here: Into them, I screwed a pair of 16-inch 2′ x 4’s, running horizontally (perpendicular to the wall), which tucked between the floor of the deck and the base of the railing. That held it in place surprisingly well, but I don’t totally trust the railing, as solid as it feels.
So then I screwed in wood blocks at the end of those horizontal 2′ x 4’s, which fit snugly around the back of the deck posts, like interlocking puzzle pieces. I tested it with my own weight first, just to be sure, and it was firmly stuck in place. But if I lift up the whole wall slightly and shimmy it to the left a few inches, I can then slide the whole thing out should we want to store it during the winter or a windy storm.
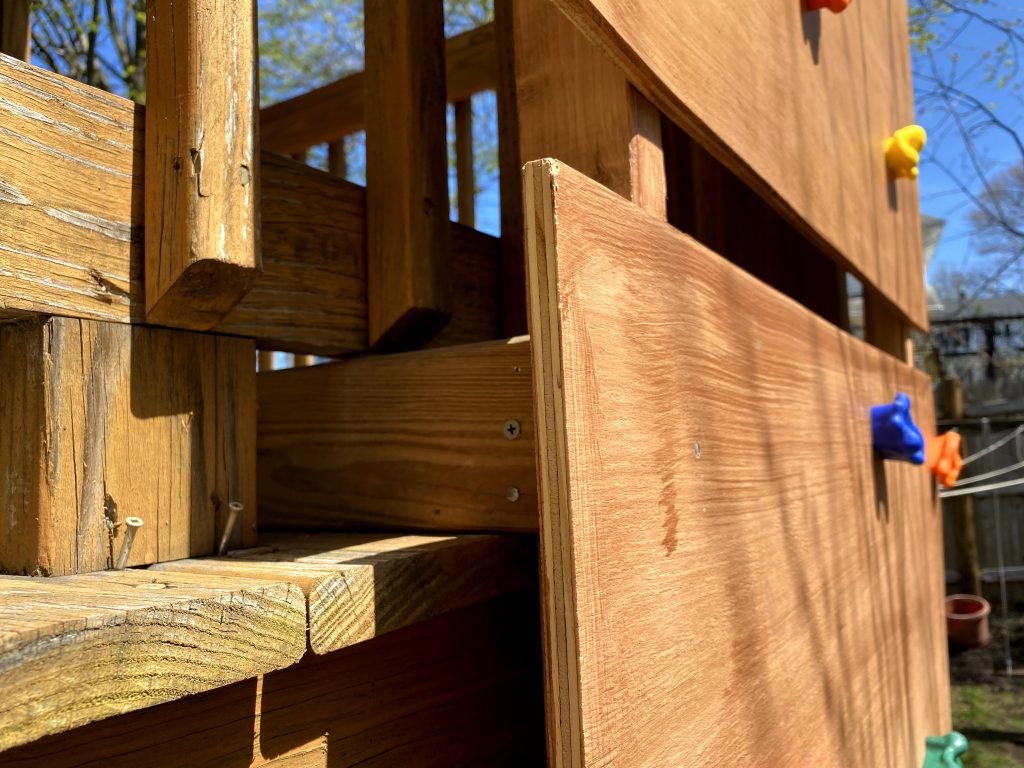
It’s not exactly a thing of beauty — and I ended up duct taping the exposed plywood edges, both for additional waterproofing and splinter protection — and it’s no rock climbing gym, but the kid certainly enjoys it. She does an obstacle course run where she scales the wall, hops over onto the deck, races down the stairs, and uses the monkey bars to get back without ever touching the ground lava.
Next up in our stay-at-home playground: a tire swing. And also gardening. After talking to some awesome horticulturalists about lawn alternatives for a recent Globe article, I’m all about planting moss phlox in our sunny spots and lowbush blueberry and winter berry in the backyard. More soon!

